Build a Remote MCP server
This guide will show you how to deploy your own remote MCP server on Cloudflare, with two options:
- Without authentication — anyone can connect and use the server (no login required).
- With authentication and authorization — users sign in before accessing tools, and you can control which tools an agent can call based on the user's permissions.
You can start by deploying a public MCP server ↗ without authentication, then add user authentication and scoped authorization later. If you already know your server will require authentication, you can skip ahead to the next section.
The button below will guide you through everything you need to do to deploy this example MCP server ↗ to your Cloudflare account:
Once deployed, this server will be live at your workers.dev subdomain (e.g. remote-mcp-server-authless.your-account.workers.dev/sse). You can connect to it immediately using the AI Playground ↗ (a remote MCP client), MCP inspector ↗ or other MCP clients. Then, once you're ready, you can customize the MCP server and add your own tools.
If you're using the "Deploy to Cloudflare" button, a new git repository will be set up on your GitHub or GitLab account for your MCP server, configured to automatically deploy to Cloudflare each time you push a change or merge a pull request to the main branch of the repository. You can then clone this repository, develop locally, and start writing code and building.
Alternatively, you can use the command line as shown below to create a new MCP Server on your local machine.
npm create cloudflare@latest -- my-mcp-server --template=cloudflare/ai/demos/remote-mcp-authlesspnpm create cloudflare@latest my-mcp-server --template=cloudflare/ai/demos/remote-mcp-authlessyarn create cloudflare my-mcp-server --template=cloudflare/ai/demos/remote-mcp-authlessNow, you have the MCP server setup, with dependencies installed. Move into that project folder:
cd my-mcp-serverIn the directory of your new project, run the following command to start the development server:
npm startYour MCP server is now running on http://localhost:8787/sse.
In a new terminal, run the MCP inspector ↗. The MCP inspector is an interactive MCP client that allows you to connect to your MCP server and invoke tools from a web browser.
npx @modelcontextprotocol/inspector@latestOpen the MCP inspector in your web browser:
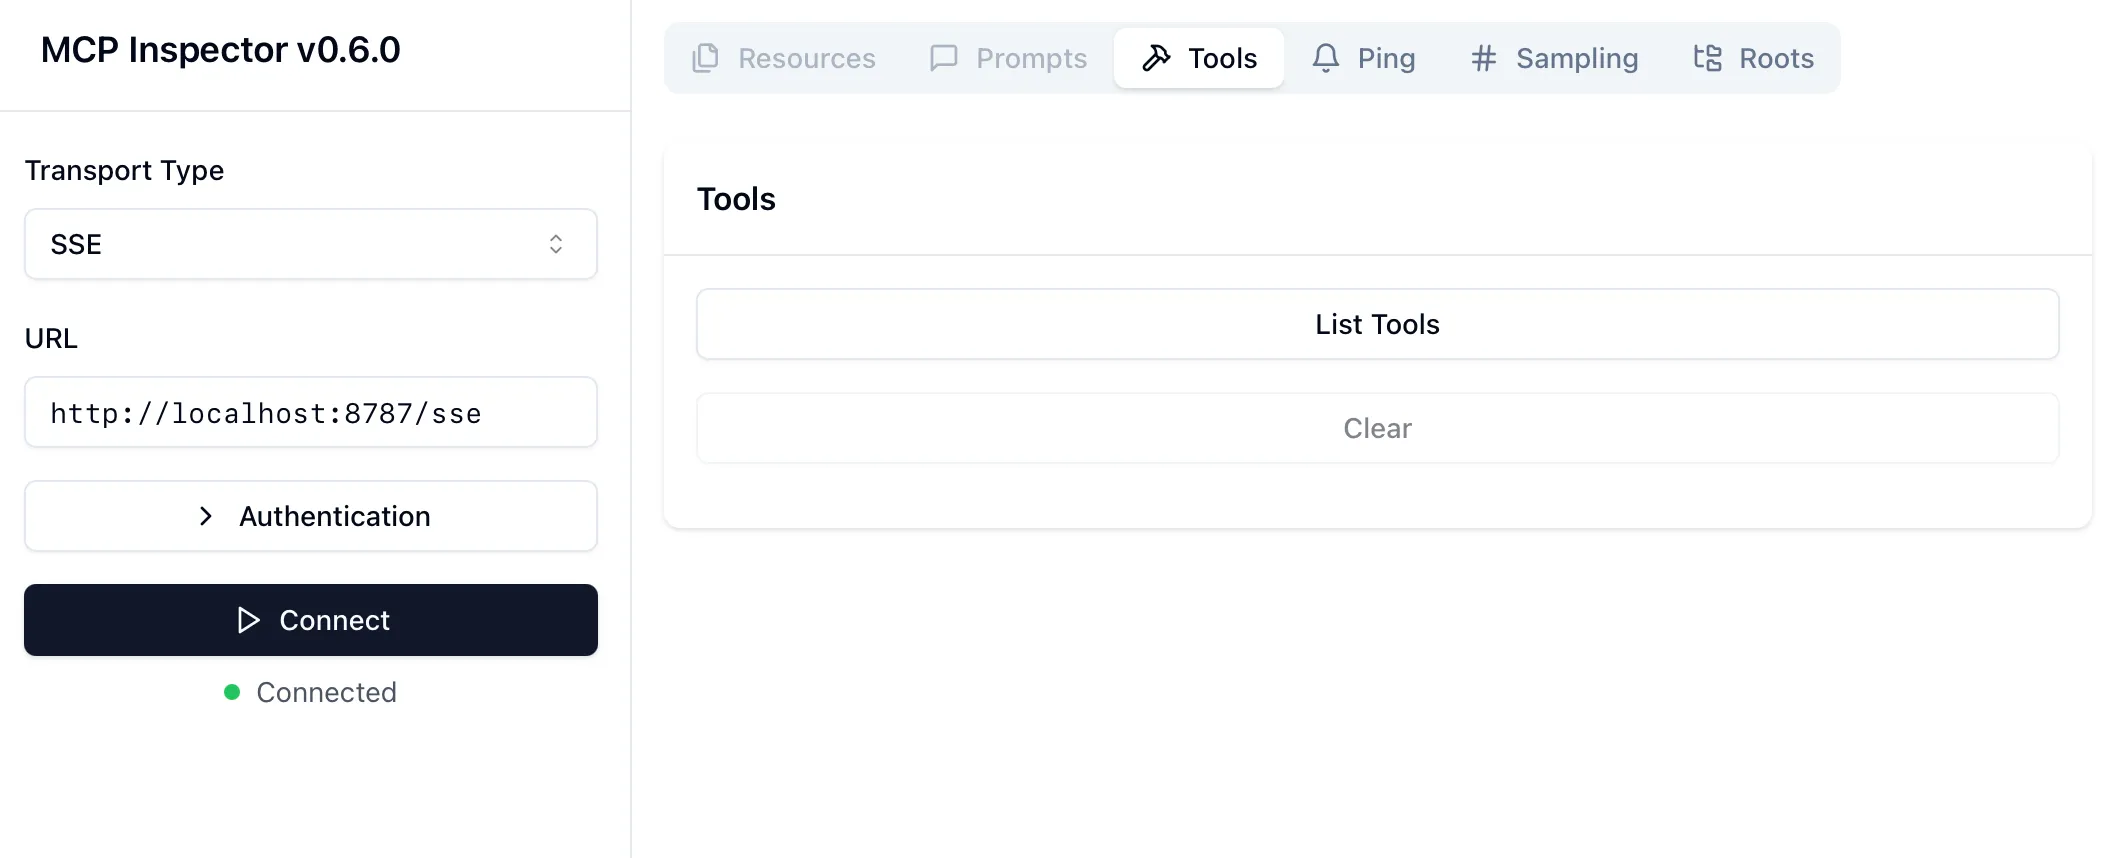
open http://localhost:5173In the inspector, enter the URL of your MCP server, http://localhost:8787/sse, and click Connect. You should see the "List Tools" button, which will list the tools that your MCP server exposes.
You can deploy your MCP server to Cloudflare using the following Wrangler CLI command within the example project:
npx wrangler@latest deployIf you have already connected a git repository to the Worker with your MCP server, you can deploy your MCP server by pushing a change or merging a pull request to the main branch of the repository.
After deploying, take the URL of your deployed MCP server, and enter it in the MCP inspector running on http://localhost:5173. You now have a remote MCP server, deployed to Cloudflare, that MCP clients can connect to.
Now that your MCP server is running, you can use the mcp-remote local proxy ↗ to connect Claude Desktop or other MCP clients to it — even though these tools aren't yet remote MCP clients, and don't support remote transport or authorization on the client side. This lets you test what an interaction with your MCP server will be like with a real MCP client.
Update your Claude Desktop configuration to point to the URL of your MCP server. You can use either the localhost:8787/sse URL, or the URL of your deployed MCP server:
{ "mcpServers": { "math": { "command": "npx", "args": [ "mcp-remote", "https://your-worker-name.your-account.workers.dev/sse" ] } }}Restart Claude Desktop after updating your config file to load the MCP Server. Once this is done, Claude will be able to make calls to your remote MCP server. You can test this by asking Claude to use one of your tools. For example: "Could you use the math tool to add 23 and 19?". Claude should invoke the tool and show the result generated by the MCP server.
Learn more about other ways of using remote MCP servers with MCP clients here in this section.
Now that you’ve deployed a public MCP server, let’s walk through how to enable user authentication using OAuth.
The public server example you deployed earlier allows any client to connect and invoke tools without logging in. To add authentication, you’ll update your MCP server to act as an OAuth provider, handling secure login flows and issuing access tokens that MCP clients can use to make authenticated tool calls.
This is especially useful if users already need to log in to use your service. Once authentication is enabled, users can sign in with their existing account and grant their AI agent permission to interact with the tools exposed by your MCP server, using scoped permissions.
In this example, we use GitHub as an OAuth provider, but you can connect your MCP server with any OAuth provider that supports the OAuth 2.0 specification, including Google, Slack, Stytch, Auth0, WorkOS, and more.
Run the following command to create a new MCP server:
npm create cloudflare@latest -- my-mcp-server-github-auth --template=cloudflare/ai/demos/remote-mcp-github-oauthpnpm create cloudflare@latest my-mcp-server-github-auth --template=cloudflare/ai/demos/remote-mcp-github-oauthyarn create cloudflare my-mcp-server-github-auth --template=cloudflare/ai/demos/remote-mcp-github-oauthNow, you have the MCP server setup, with dependencies installed. Move into that project folder:
cd my-mcp-server-github-authThen, run the following command to deploy the MCP server:
npx wrangler@latest deployYou'll notice that in the example MCP server, if you open src/index.ts, the primary difference is that the defaultHandler is set to the GitHubHandler:
import GitHubHandler from "./github-handler";
export default new OAuthProvider({  apiRoute: "/sse",  apiHandler: MyMCP.Router,  defaultHandler: GitHubHandler,  authorizeEndpoint: "/authorize",  tokenEndpoint: "/token",  clientRegistrationEndpoint: "/register",});
This will ensure that your users are redirected to GitHub to authenticate. To get this working though, you need to create OAuth client apps in the steps below.
You'll need to create two GitHub OAuth Apps ↗ to use GitHub as an authentication provider for your MCP server — one for local development, and one for production.
Navigate to github.com/settings/developers ↗ to create a new OAuth App with the following settings:
- Application name:
My MCP Server (local) - Homepage URL:
http://localhost:8787 - Authorization callback URL:
http://localhost:8787/callback
For the OAuth app you just created, add the client ID of the OAuth app as GITHUB_CLIENT_ID and generate a client secret, adding it as GITHUB_CLIENT_SECRET to a .dev.vars file in the root of your project, which will be used to set secrets in local development.
touch .dev.varsecho 'GITHUB_CLIENT_ID="your-client-id"' >> .dev.varsecho 'GITHUB_CLIENT_SECRET="your-client-secret"' >> .dev.varscat .dev.varsRun the following command to start the development server:
npm startYour MCP server is now running on http://localhost:8787/sse.
In a new terminal, run the MCP inspector ↗. The MCP inspector is an interactive MCP client that allows you to connect to your MCP server and invoke tools from a web browser.
npx @modelcontextprotocol/inspector@latestOpen the MCP inspector in your web browser:
open http://localhost:5173In the inspector, enter the URL of your MCP server, http://localhost:8787/sse, and click Connect:
You should be redirected to a GitHub login or authorization page. After authorizing the MCP Client (the inspector) access to your GitHub account, you will be redirected back to the inspector. You should see the "List Tools" button, which will list the tools that your MCP server exposes.
You'll need to repeat these steps to create a new OAuth App for production.
Navigate to github.com/settings/developers ↗ to create a new OAuth App with the following settings:
- Application name:
My MCP Server (production) - Homepage URL: Enter the workers.dev URL of your deployed MCP server (ex:
worker-name.account-name.workers.dev) - Authorization callback URL: Enter the
/callbackpath of the workers.dev URL of your deployed MCP server (ex:worker-name.account-name.workers.dev/callback)
For the OAuth app you just created, add the client ID and client secret, using Wrangler CLI:
wrangler secret put GITHUB_CLIENT_IDwrangler secret put GITHUB_CLIENT_SECRETNow that you've added the ID and secret of your production OAuth app, you should now be able to connect to your MCP server running at worker-name.account-name.workers.dev/sse using the AI Playground ↗, MCP inspector or (other MCP clients), and authenticate with GitHub.
- Add tools to your MCP server.
- Customize your MCP Server's authentication and authorization.
Was this helpful?
- Resources
- API
- New to Cloudflare?
- Products
- Sponsorships
- Open Source
- Support
- Help Center
- System Status
- Compliance
- GDPR
- Company
- cloudflare.com
- Our team
- Careers
- 2025 Cloudflare, Inc.
- Privacy Policy
- Terms of Use
- Report Security Issues
- Trademark